
The bottom line:
I really like it! Even though I wasn't successful with lining up one of the stamps the others worked really well and I can see potential for borders, corners and accent shapes.
 What you get:
The set consists of a base unit where you line up the paper, a block where you position and ink the stamp before placing it onto the base unit for stamping and 4 sets of stamps (each with a border and corner) and their corresponding guide sheets. (In the US they got 6 sets! Jealous! I really want the butterlies and ferns.)(And they got ink! But I'm less jealous about that.)
There is also a sheet of instructions which I ignored.
How it Works:
In order to create a border around a page, the dimensions need to be a multiple of 2 (so 2x2, 4x4, 2x4, 6x6 etc). Accurate measurements are pretty important as if you are out the design won't line up correctly.
You place the guide sheet for the selected design into the base unit (it slides into grooves on the base unit pretty easily) and then slide the paper into the base unit, lining up the top right hand corner with the corner marked on the base unit.

The images are cut deep (or raised high) and the foam pads and block mean that even when the stamp was messy (I'm not the tidiest crafter) there was no ink transferred to the paper.
I used pigment inks for everything I did today (mostly from VersaFine, one or two colours from Papermania).
I found it easy to get even pressure with the block and generally got good results (and when I didn't it was because I was rushing).
After you've stamped the four corners you replace the corner stamp with the border stamp on the block - again lining up the stamp triangles with the block triangles), line up the paper using the guide sheets and then stamp the border sections as required.
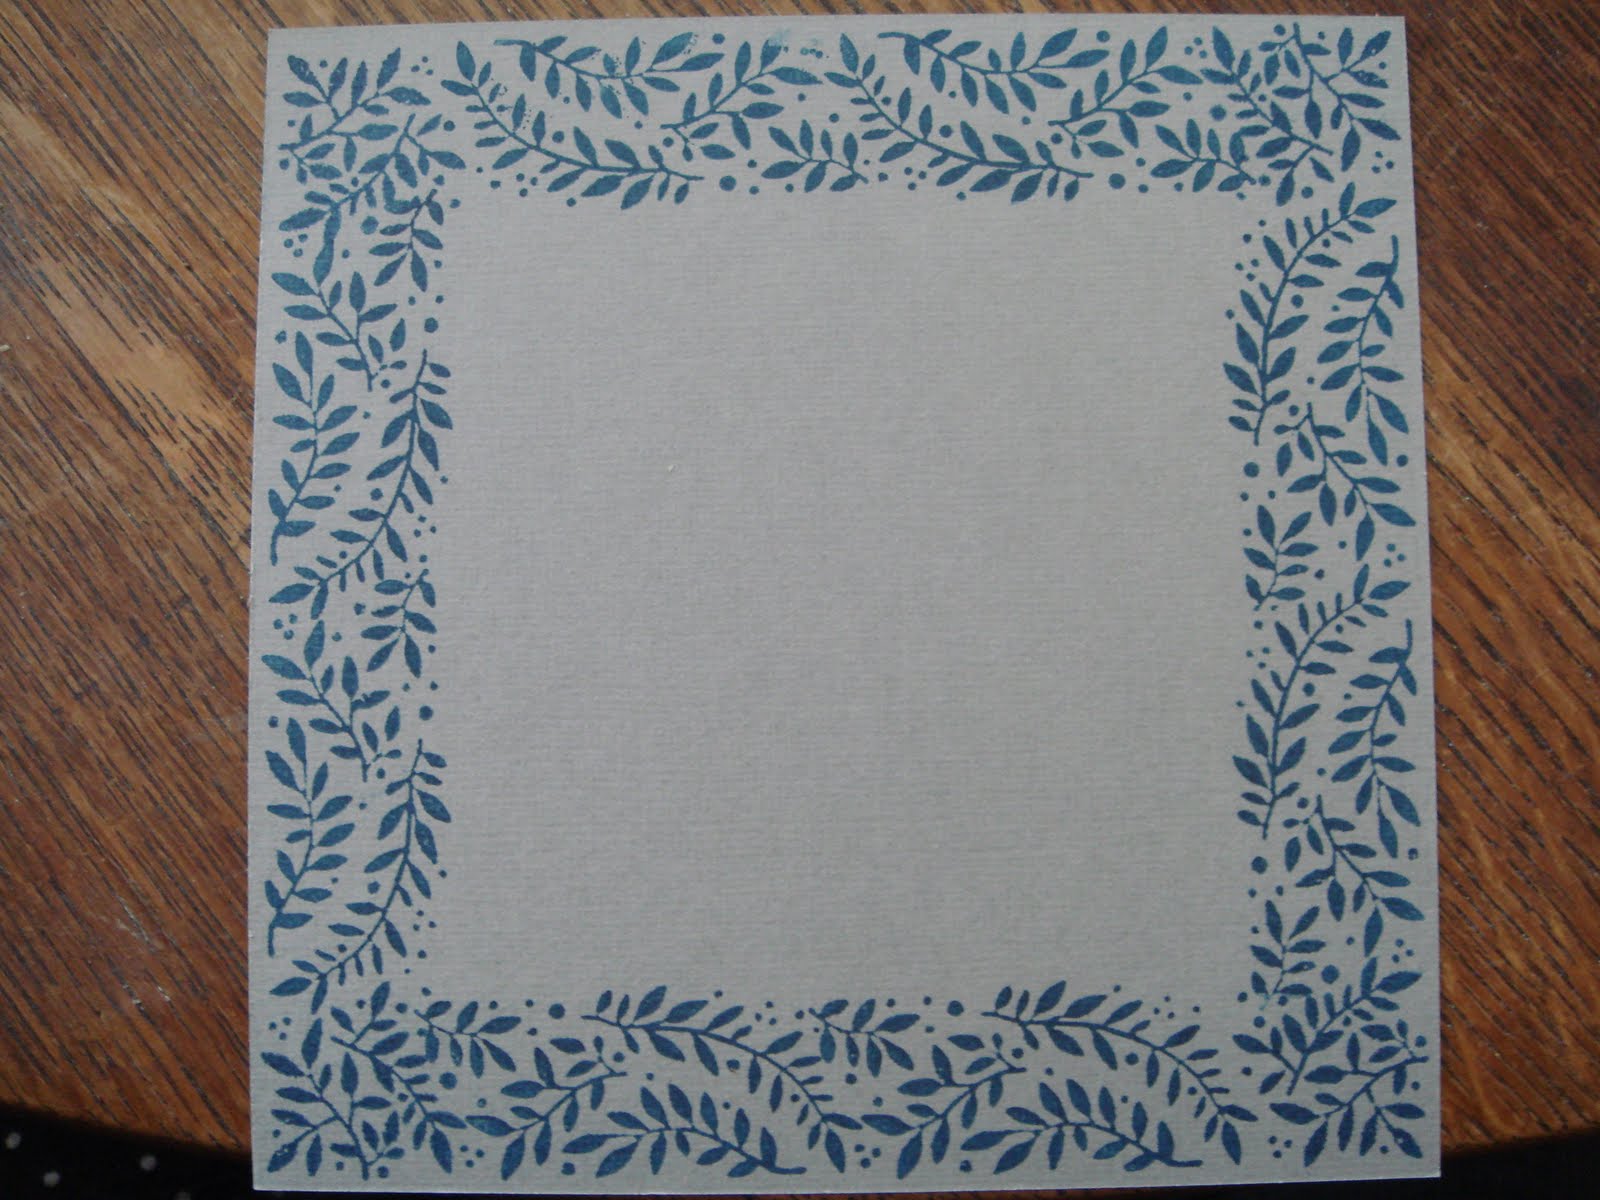
This was my first attempt - not bad for straight out of the box! It seemed a bit faff-y when watching the demos but to be honest I didn't find it any more so than regular stamping which was a relief.

I did a couple of other snowflake borders (taking more care with my corners) and really think this is a stamp set I'll use a lot. Shame about my bad stamping of 'Joy' in the centre of the 4x4 block!


The third pattern was easy enough and surprised me as I hadn't expected to like it as much as I do!

The fourth pattern was a failure. Entirely unusable, and despite a few more attempts I wasn't able to line up the borders satisfactorily.

I had sort of expected that as I think lining up that sort of intricate pattern where there are lines that MUST LINE UP is never going to easy. The other patterns are ok with 'close enough' - but this one is definitely not. I will play with it some more another day and see if practise makes perfect!
I tried a few more patterns and expect I'll try a few more before the day is out!

And with a bit of embossing powder we can get stuff like this. (Should have used superfine for the sentiment it's a bit gloopy!)

Top Tips:
- Cutting the paper to size accurately is very important - if the paper isn't the right size (a 2 inch increment) the pattern won't line up.
- Placing the stamp on to the block accurately is also critical -- it isn't difficult or faffy but you do need to pay attention.
- Lining up the paper is easier if you are looking at the unit from above rather than from the front.
- A small piece of repositionable adhesive on the back of the paper can help keep the paper in place - particularly for really small pieces of paper (like a 2x2).

I knew it! I knew you couldn't watch craft day and not buy anything!
ReplyDeleteBorders look cool!